I don’t have an exact recipe for chicken soup. I have ingredients that I use, but the quantities are negotiable. This dish is more about the process so bear with me. The good news is that while this process is time consuming, you should get 4-6 meals out of it.
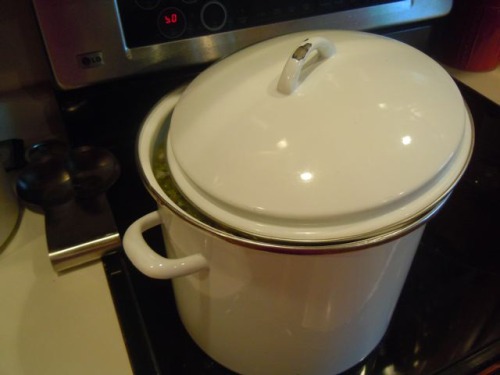
First of all, you’re going to need a big ‘ol stock pot. You don’t have to spend a ton of money on this - you can find perfectly good ones for under $50. I know - $50 is not a small amount, but mine is 15 years old and still going strong. You really, truly can not make decent stock without a pot this size because
1) You need a lot of ingredients.
2) You need a lot of water.
So get a big stock pot and put chicken parts in it. For this batch I used one whole chicken, a chicken carcass that I had in the freezer from the last time I made roasted chicken and a couple of chicken breasts. You want chicken that has bones in it because bones = flavor. That’s why the carcass is in there. There’s not much meat left, but there is still a lot of flavor.
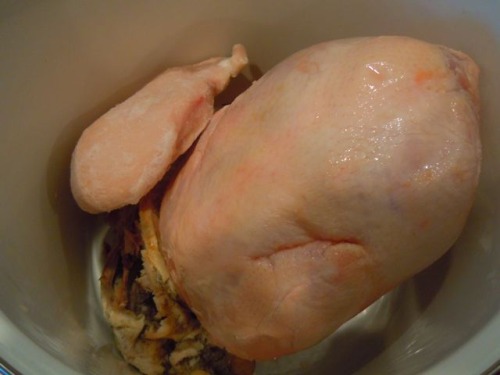
Put the chicken parts in the pot and add water. Leave about 2 inches of space between the top of the water and the top of the pot and turn the burner up high.
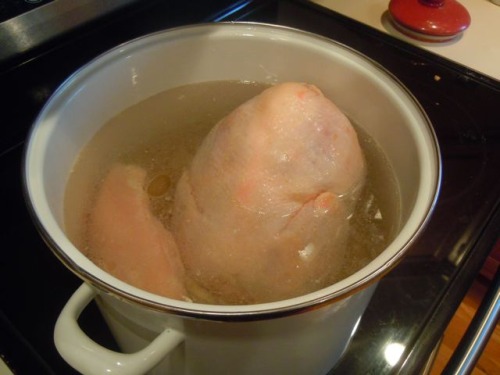
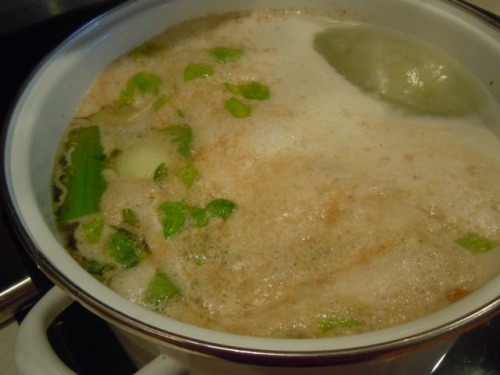
When the water starts boiling, turn the heat down so it’s simmering. You’ll notice a rather nasty looking foam rising to the top.
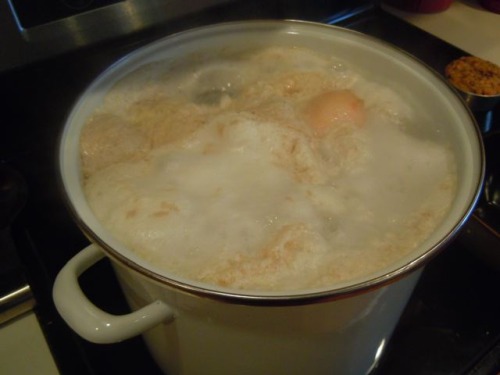
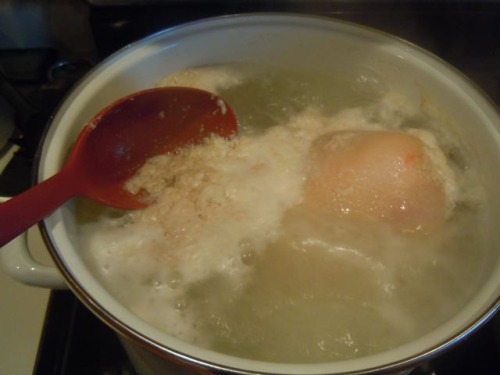
Scoop the foam off with a spoon. My friend’s Russian grandmother used to call this “skimming the scum” which is really fun to say so that’s what I call it too. I keep a bowl nearby and just dump it in there. You’ll have to do this several times, so keep checking back.
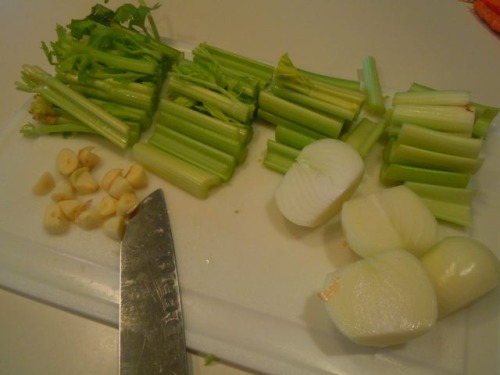
While the chicken is cooking, assemble your vegetables. I used a head of celery, two large onions and about 8 cloves of garlic. I should have thrown some parsley in there too. You’re not going to actually eat these vegetables, so just give them a rough chop. I halved the onions and the peeled garlic cloves.
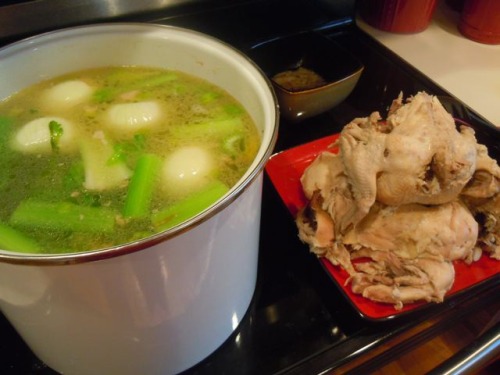
When the chicken is cooked through, fish it out of the pot and set it aside until it’s cool enough to handle without burning your fingers. You can go ahead and throw the vegetables in at this point and add more water until it’s back up near the top.
For some reasons, the vegetables will make scum too.
I don’t know why.
Just skim it off and throw it out.
When the chicken has cooled, you’re going to pick it apart with your fingers and put it into two piles: edible and non-edible.
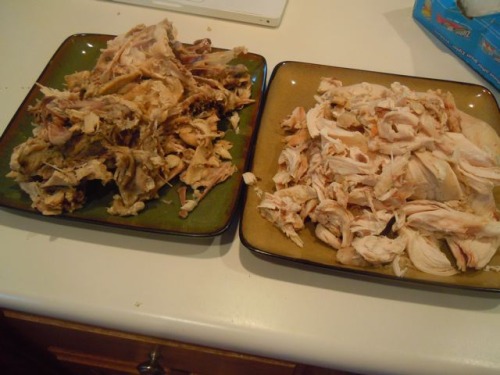
The non-edible pile is the bones, skin and little bits you’re too lazy to pick off. Don’t throw this pile away! It may not look appetizing, but what you see here is a pile of flavor.
Really.
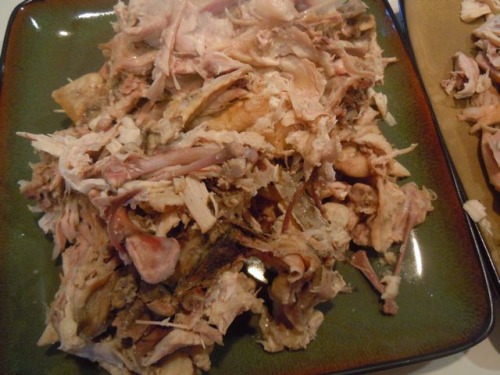
Throw that pile of flavor back into the pot with the vegetables. Set the lid of the pot at an angle so that some steam can escape, but the water doesn’t evaporate too much and then just let it simmer. It can go as long as you want it to. I would say minimum two hours and as long as five, adding more water if it drops more than three inches from the top. You’re trying to cook all the flavor out of the contents and transfer it to the liquid so the long cooking time is necessary.
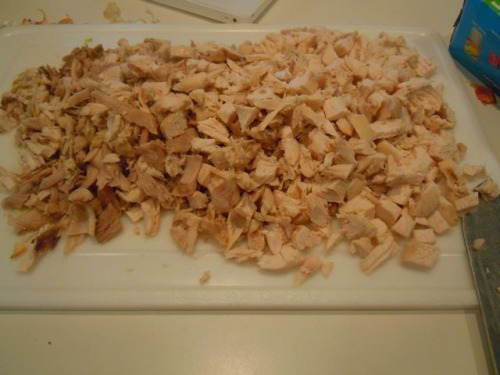
Back to the edible parts: Take the chicken you pulled off the bones and just chop at it with a knife or shred it with your hands until you have bite-sized pieces. We’re going for a “rustic” look here so don’t worry about uniform pieces
Now you have a decision to make: Do you want to add veggies or just have chicken in your soup? I put carrots in ours - just carrots. But if you like chunky soup, you could add chopped onion, celery, turnips…whatever floats your boat.
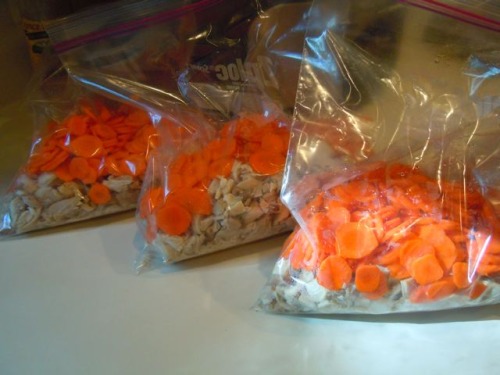
Whatever you decide, cut up your vegetables and divvy them up. I figured I had enough cooked chicken for three pots of soup, so I divided it among three freezer bags and added 3-4 sliced carrots to each bag. Throw the bags into the refrigerator - you’ll deal with them again tomorrow.
When you finally get tired of simmering your stock, remove the pot from the heat and take off the lid. Using a big, slotted spoon fish out all the bones and cooked vegetables and throw them away.
What you have now is a gigantic pot of extremely hot liquid. You can’t stick it in the fridge because it will make it too warm in there. You could let it sit on your counter but you run into food safety issues after a couple of hours.
If you’re making this soup on a really cold day, you can put the lid back on and stick it on the back porch for a couple of hours and then transfer it to the fridge - I’ve done that many times. On this particular day though, it was 60+ degrees outside so I just threw in all the ice cubes from my freezer and stirred until they were melted which cooled the broth enough that I could stick it in the refrigerator.

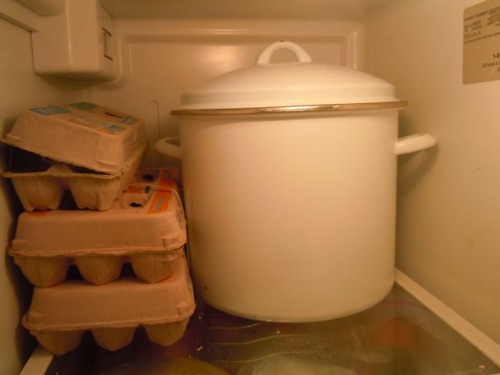
The broth is going to need to chill overnight. This is so that it gets cold enough to easily remove the fat. In the morning, get the pot from the fridge. (Yes, I have a lot of eggs.)
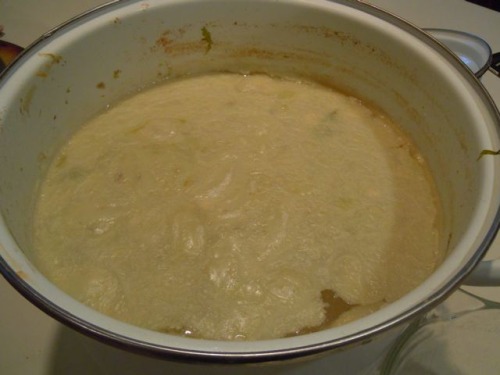
See how all the fat has come to the top? And it’s nice and firm so all you have to do is grab a spoon and scoop it out and throw it away.
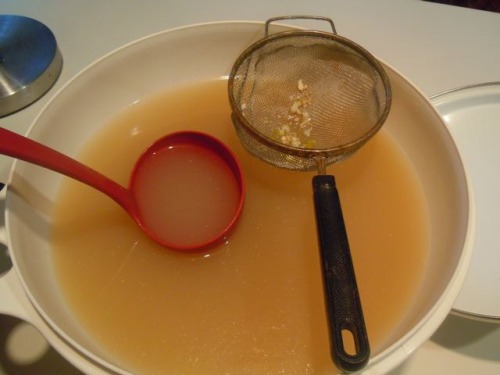
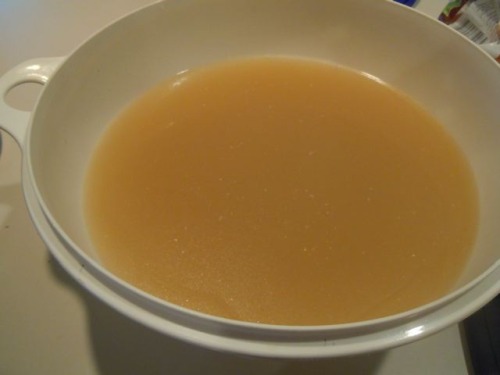
Pour what’s left through a strainer (to remove and bone or veggie fragments that may be left) into a big bowl. You now have world class, wildly delicious, super-flavorful chicken stock.
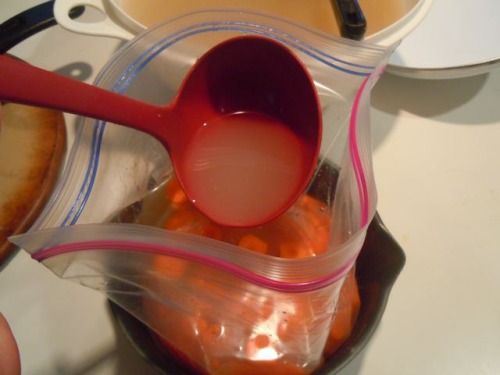
Ladle it into the bags of chicken and carrots that you made yesterday. Tip: Put the bag into a bowl to help it stay upright while you put in the liquid. I figured this out the hard way one time after mopping chicken broth off my counter and floor.
I filled the bags until they were about half full. This stock is very concentrated in flavor so when you make the soup you’ll add more water.
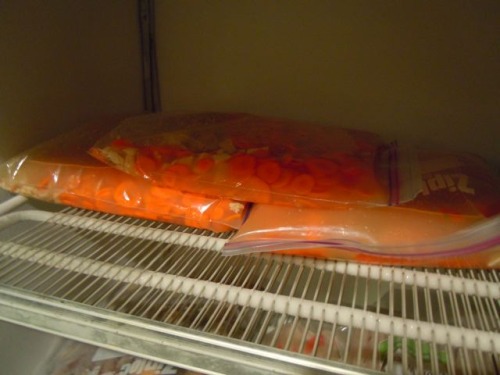
Now you can seal the bags and lay them flat in your freezer. You now have a pot of soup ready to go for the first snow fall of the year or for the first bad cold or just the next really busy night.
After I had put those three batches into the freezer, I had a lot of stock left over. At this point you could pull out some quart-sized freezer bags and freeze the stock in two cup portions. Most recipes call for chicken stock in 2 cup increments because that’s how much is in the can you buy at the store.
This tastes sooooo much better though and, at this point, contains no sodium. About the sodium: you’ll notice that I have not yet mentioned salt even though I think it’s pretty essential. That’s because when you are making stock, you boil off so much liquid that if you added the salt at the beginning, you’d run the risk of overly salty soup.
So I could have frozen this stock in batches at this point, but my kids had spent the whole day before smelling chicken soup cooking and they wanted it NOW. I also had an opportunity to bring dinner to a friend so I went ahead and cooked up four boneless, skinless chicken breasts and cut up the meat. Then I sliced more carrots and divided the meat and veggies between two normal sized soup pots.
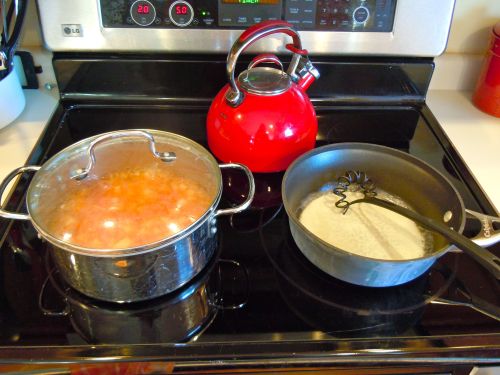
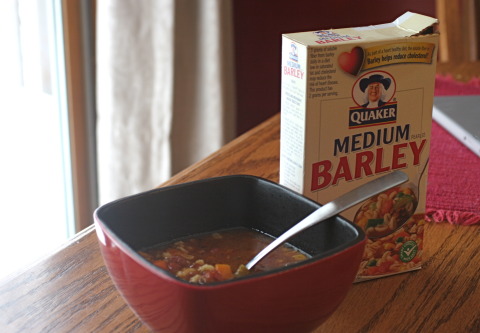
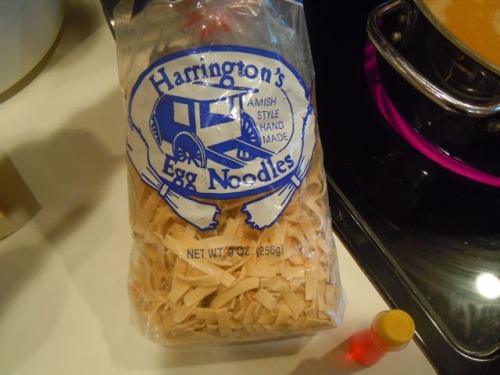
Besides salt, all you need to finish the soup are two things: really good noodles and 3 drops of yellow food coloring. (The food coloring is just to make the broth pretty. It’s not essential.) These particular noodles take 25 minutes to cook which is about how long the carrots take so I filled the pot with broth until it was half full then added water until it reached abou 2/3 full and set it over high heat.
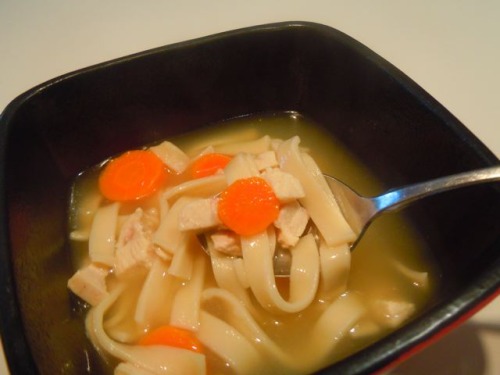
When it came to a boil, I added the noodles and simmered it, partially covered, until the noodles and carrots were soft - about 25 minutes. Then I tasted it and added salt (about 2 teaspoons) until it tasted right to me. (Rich will add more at the table of course.)
Finally, two days after I started, I had soup. Wonderful soup. Soup that tastes like love.

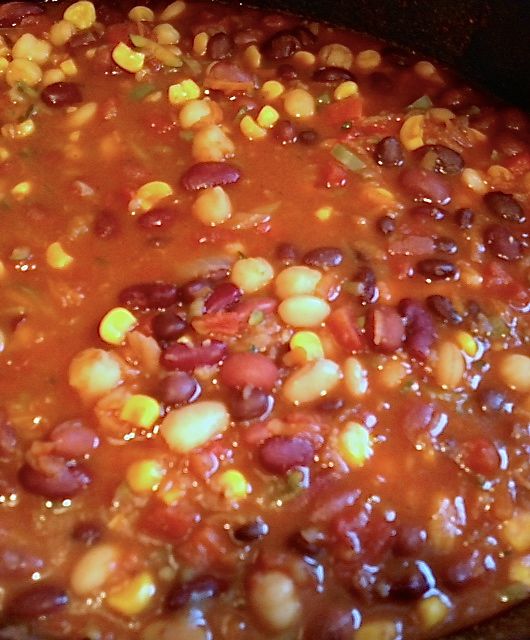
 Note: I know you think it’s weird to add in the carrot and zucchini and they aren’t really necessary BUT most chili recipes call for a bit of sugar and the carrots provide that. Plus both of those veggies are really good for you. They’ll look scary when you add them in, but after cooking all day you’ll barely be able to see them but you’ll feel really good about yourself because you added extra nutrition and fiber to the dish.
 Crock Pot,